
Product/May 18, 2023
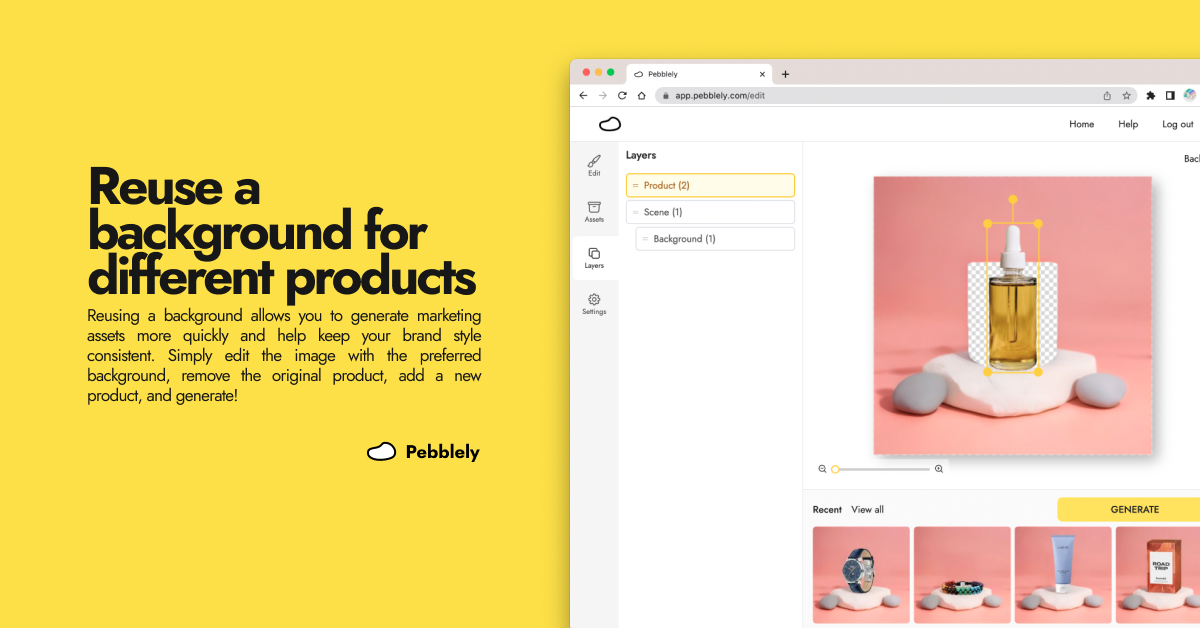
How to Reuse a Background For Different Products

Alfred
Co-founder
This article was written for a previous version of Pebblely.
The interface and features described here may no longer be accurate. Check out our updated guide or latest blog posts for current information.
To reuse a background for different products, simply edit the image with the preferred background, replace the product, and generate!
Generated a background you love, and want to use it for another product?
Well, you can do that now in Pebblely—with just four simple steps!
- Click “Edit” on the image with the background you like
- Remove the original product via the Layers tab
- Add another product via the Assets tab
- Generate new images
Here are some examples I created:
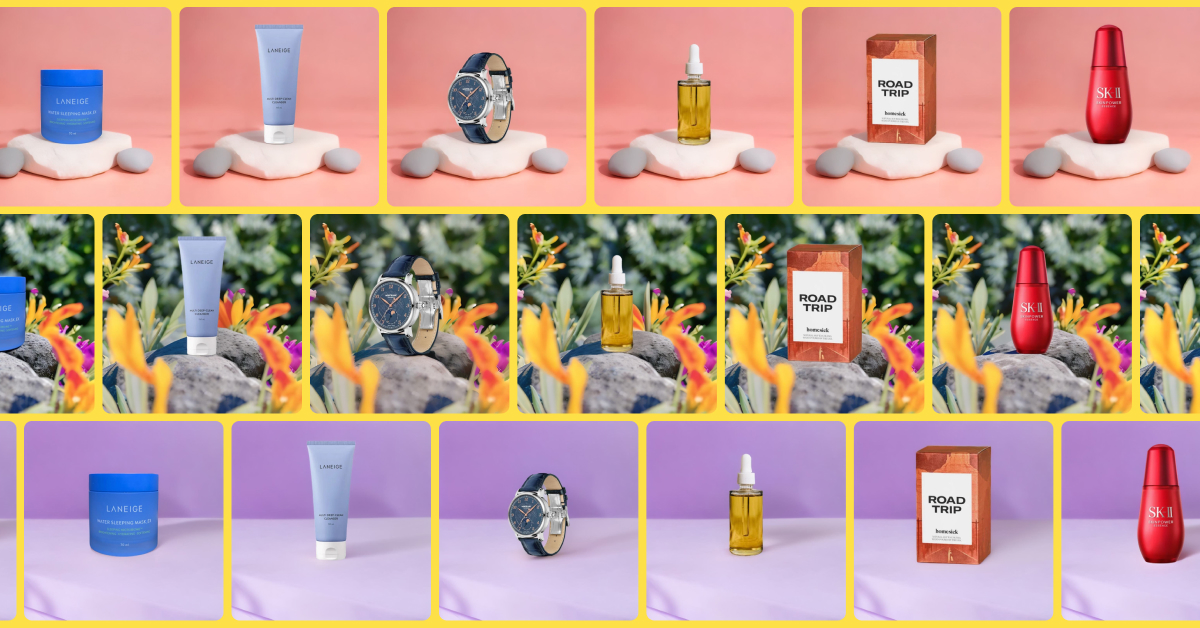
How to reuse a background for different products
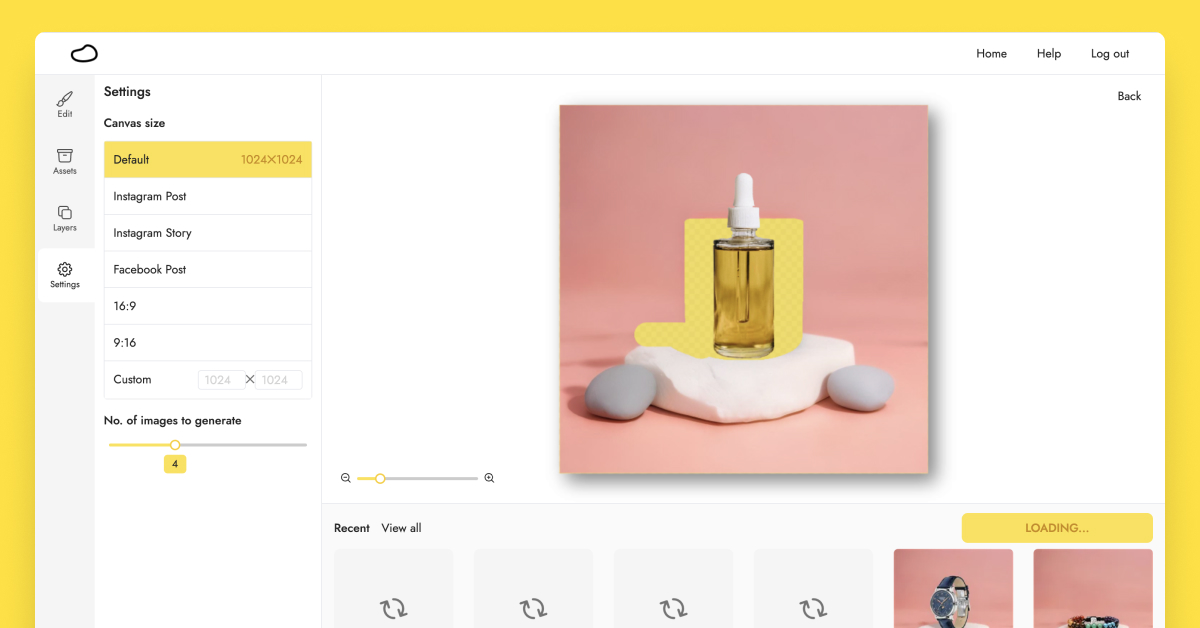
1. Click “Edit” on the image with the background you like
Once you have generated a background you like, click on the image and click “Edit” in the upper-right corner. This brings you to the Edit mode.
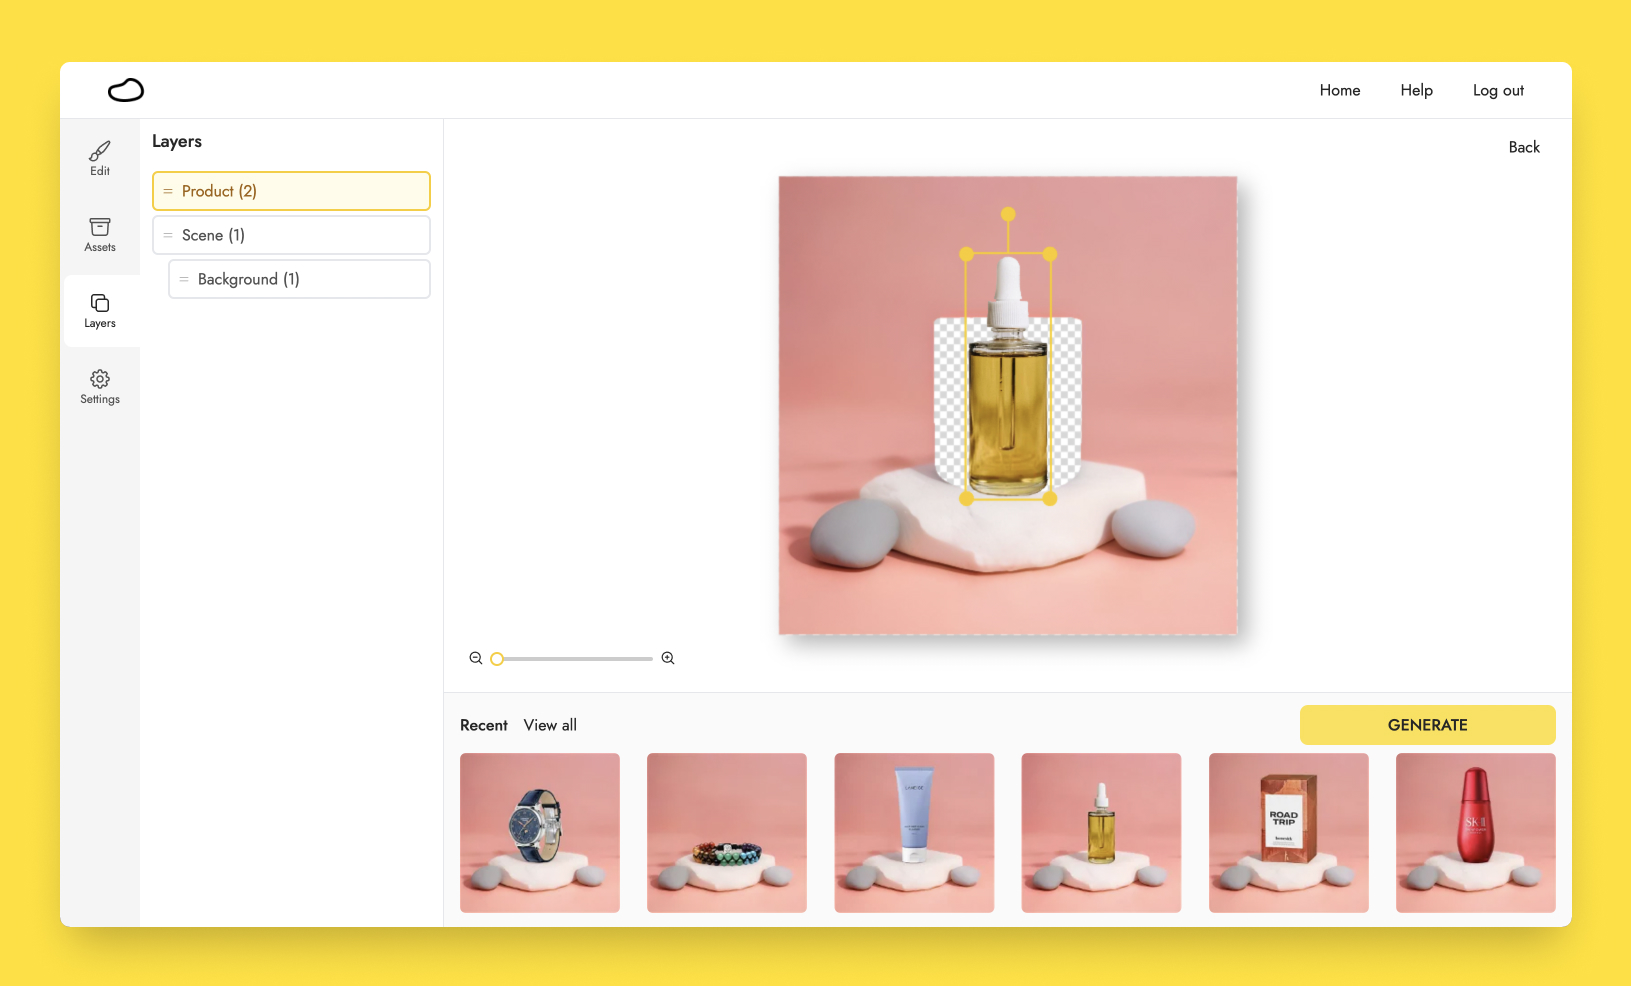
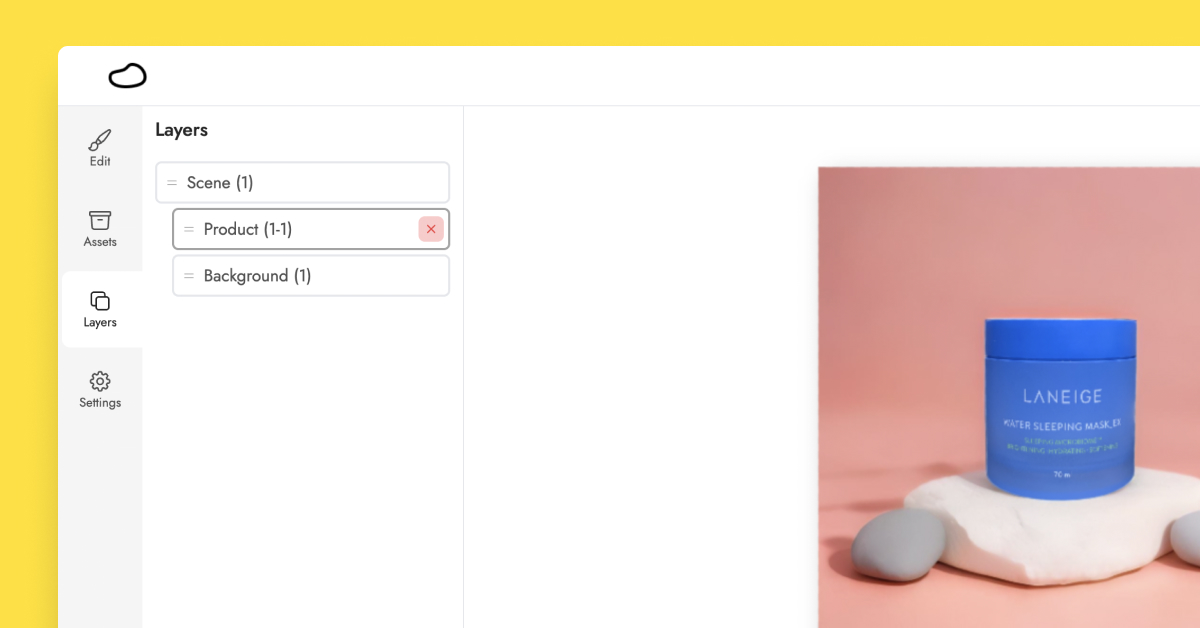
2. Remove the original product via the Layers tab
Each generated image is actually a combination of the product(s) and the background. You can see the various layers under the Layers tab.
When you hover over the product layer on the left sidebar, a cross icon will appear on the right. Clicking on the cross deletes the layer.
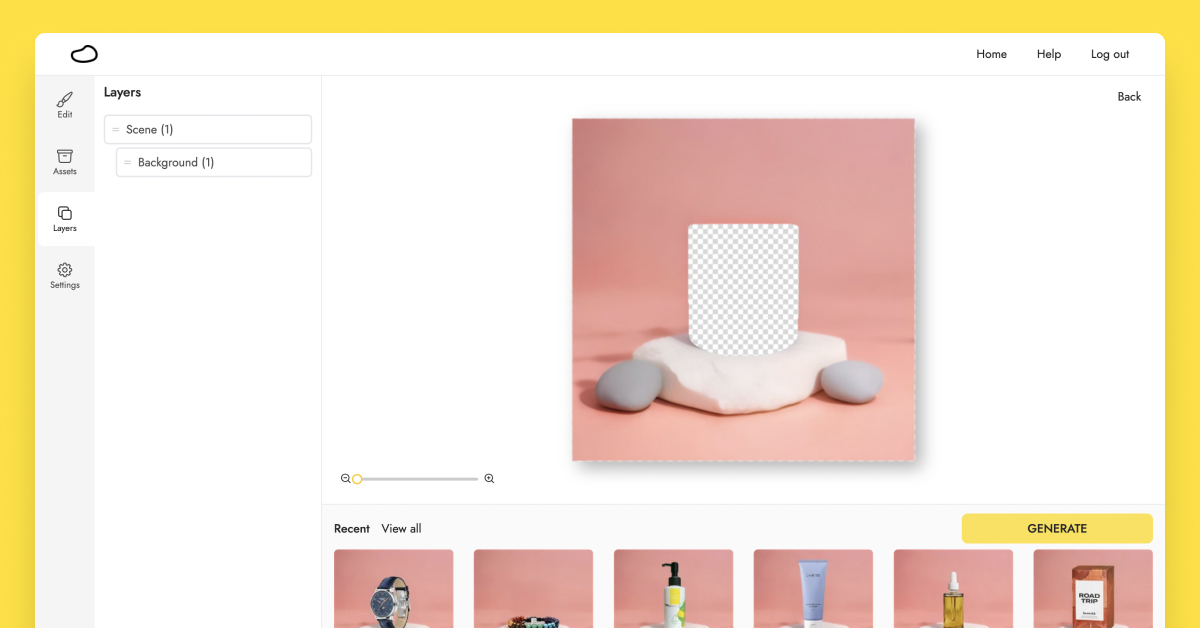
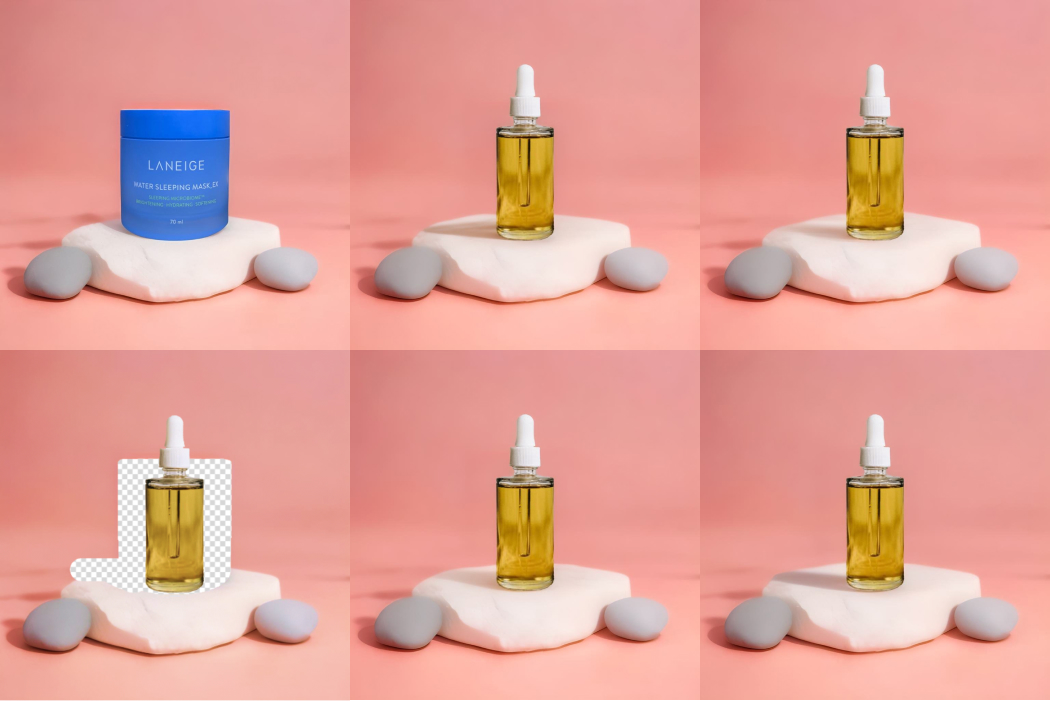
After you remove the original product, you will see a blank space where the product used to be. Don’t worry about it. Pebblely will help you fill in this blank space when you generate new images.
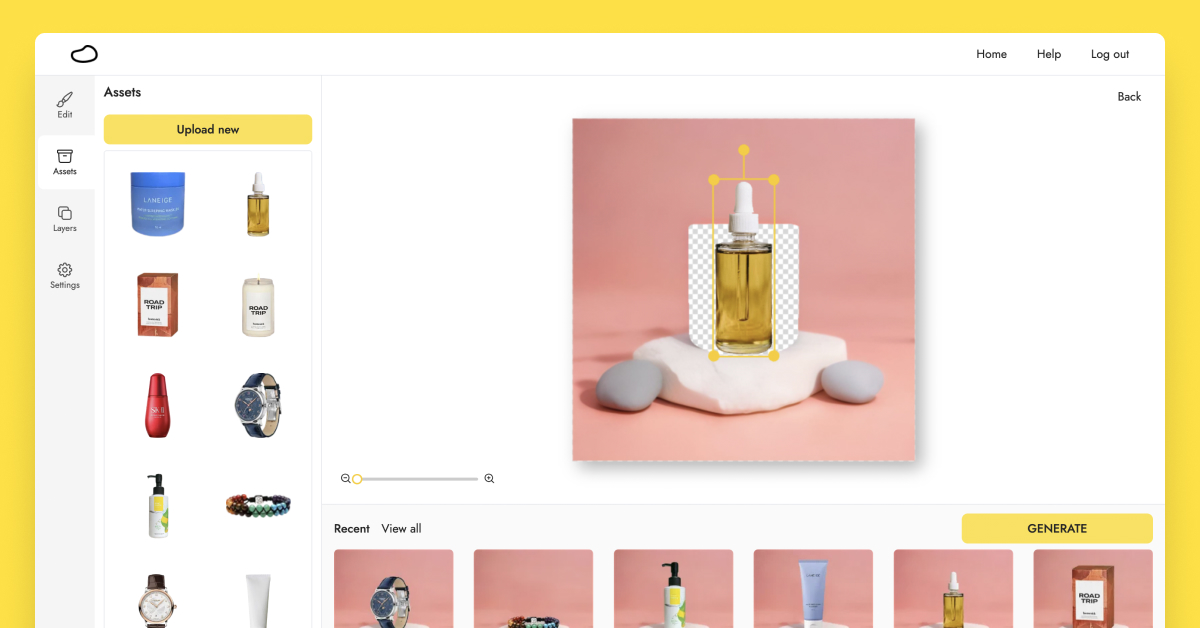
3. Add another product via the Assets tab
You can now add multiple assets to the canvas in Pebblely.
Go to the Assets tab to add another product. If you have already uploaded the product, you can click it or drag and drop it onto the canvas. Otherwise, upload the product that you want to use.
Then, adjust the size and position the new product where you want it to be.
Pro tip: Shadows and reflections help make the generated images look more realistic. So, you should erase a little of the background where you want the new shadow or reflection to be. Go to the Edit tab to use the eraser. Pebblely will automatically fill in the erased parts according to the surrounding background.
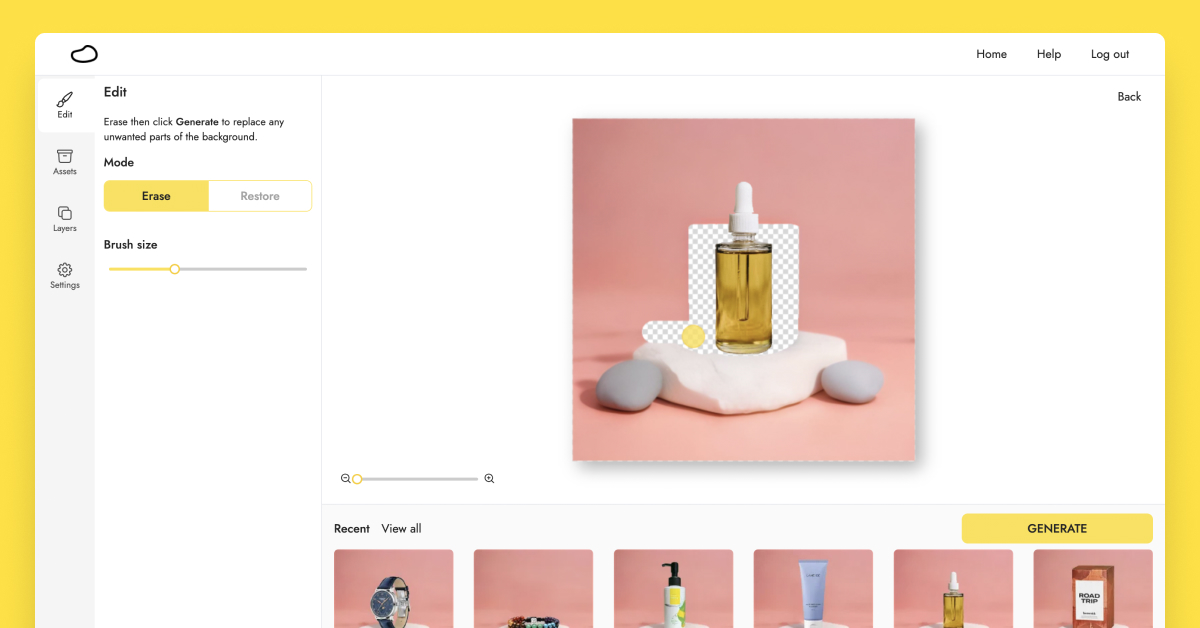
Notice how I erased the shadow from the existing image because the position of the “old” shadow doesn’t match the position of the new product.
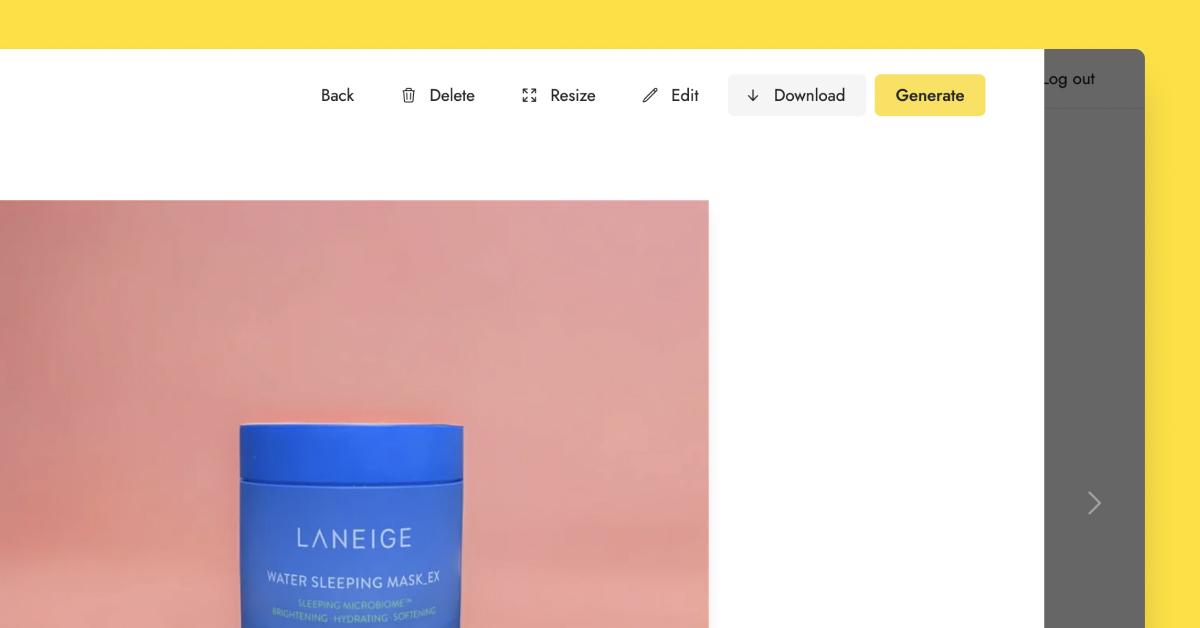
4. Generate new images
Then, simply click “Generate” again!
Pebblely will fill in all the erased areas of the image accordingly. For example, if there is a shadow directly beside an erased area, Pebblely will try to generate a shadow at the erased area to make the image look complete. If an erased area is in the middle of a rock, Pebblely will try to complete the rock.
Admittedly, Pebblely might not always complete the image perfectly. So, I recommend generating at least four images and picking the best one.
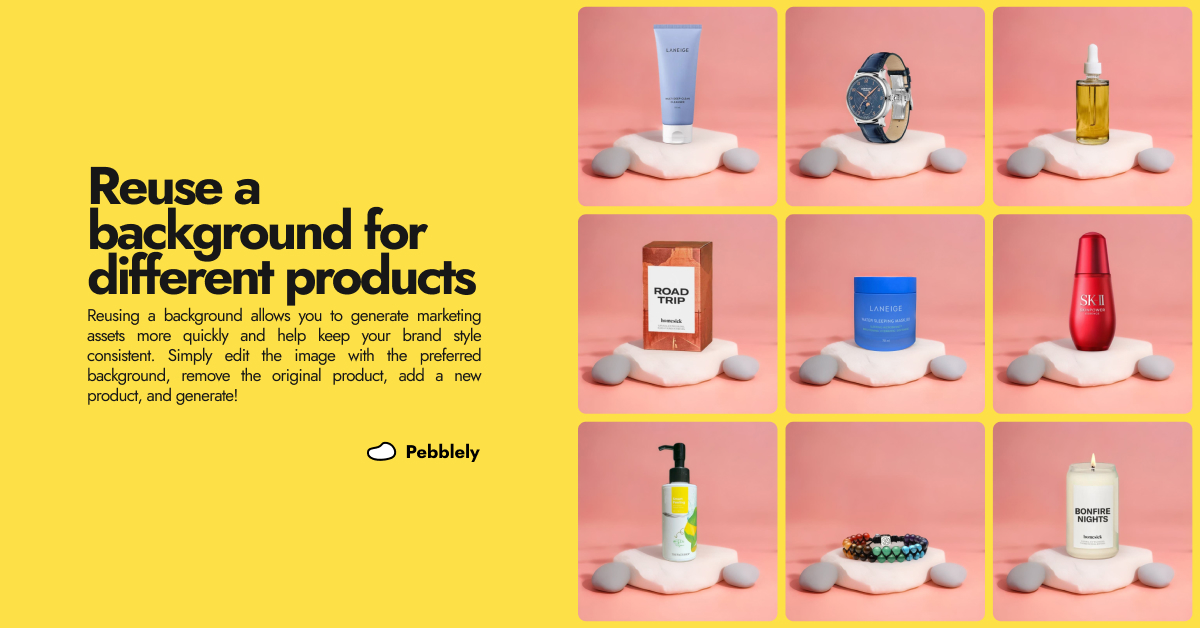
Generate once, use many times
Reusing a background allows you to generate marketing assets more quickly and help keep your brand style consistent.
This is one of our most requested features since we launched Pebblely four months ago. We are excited to finally share it with you!
After you have tried this feature, we would love to get your feedback. If any parts feel confusing or hard to do, just let me know at alfred@pebblely.com.
Keep learning
Introducing the New Pebblely: Faster, Simpler AI Product Photos
We've rebuilt Pebblely from the ground up. No more background removal. Just upload your product, describe what you want, and get beautiful photos in seconds.
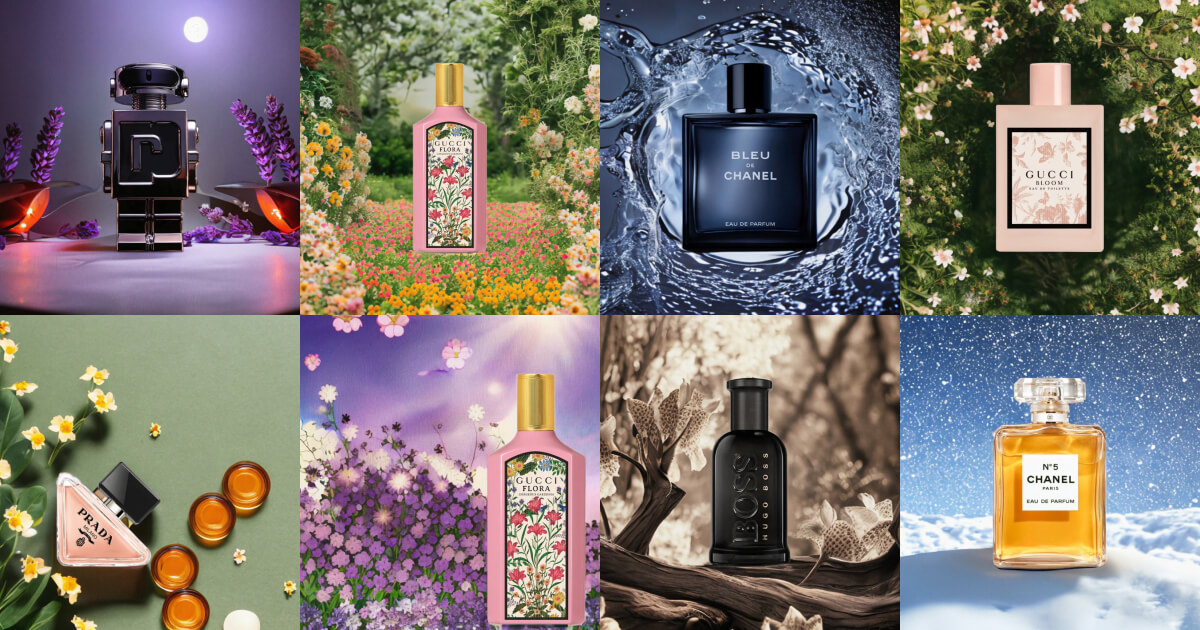
Recreating Product Images for Famous Perfume Brands
Can we recreate top perfume brands’ product images with Pebblely—at just $19 per month?